The second installment of the the wedding pages...
This gown was designed for a friend's sister. She very bravely decided she wanted me to make her a dress for her March 2011 wedding in Newcastle. I say brave, because, at this point I had only made my wedding dress previously, so it was a big leap of faith for her.
We had a few sessions of talking about ideas, and designs, and the overall style of the wedding, once this had materialised a bit. I think one mistake that brides can make is matching their wedding event to the dress they bought two years ago, or whenever they began organising. Whilst it may be fun and tempting to buy your dress straight up, until you have booked in a few essentials (venue, season), you may end up trying to make your wedding work around a dress which is incongruous.
Like I said last week, the three most important defining factors to choosing an appropriate and original wedding dress are:
1. Setting
2. Season
3. Style (theme) of the wedding.
For Kate, these were:
1. Indoors - Victorian- period ballroom
2. Autumn - Newcastle, NSW
3. Evening, indoor formal modern ceremony and reception.
We spent a day looking at fabrics together, and trying to narrow down the fairly broad ideas Kate had. Like many brides, she went through a lot of searching for source inspiration and had many many pictures that she "liked". I think we shared about 60 photos in the first set of emails, so I was working from a huge base of references.
The good thing about that was I was able to get a great overview of the elements that Kate loved in the gowns; there were many linking elements when the dresses were broken down, like repeated necklines, skirt shapes, and the overall "feel" Kate was drawn to: classical, romantic and very feminine.
We looked at laces initially, but that turned out to be too busy, and was difficult to narrow down the right kind of lace, colour and satin underneath. So, in the end, we decided on a plain, heavy silk satin crepe, in a "natural' colour (just off-white).
Kate's focus for the dress became simplicity and elegance, and something her fiancee would love to see her in. She wanted to accessorise with pearls and so the satin was a natural choice. Her overall theme was very restrained, and so a simple, but glamourous dress would suit her wedding context.
We began draping and playing with silhouette ideas, as Kate was keen to see the ideas on her, not on paper.
We had a few sessions of talking about ideas, and designs, and the overall style of the wedding, once this had materialised a bit. I think one mistake that brides can make is matching their wedding event to the dress they bought two years ago, or whenever they began organising. Whilst it may be fun and tempting to buy your dress straight up, until you have booked in a few essentials (venue, season), you may end up trying to make your wedding work around a dress which is incongruous.
Like I said last week, the three most important defining factors to choosing an appropriate and original wedding dress are:
1. Setting
2. Season
3. Style (theme) of the wedding.
For Kate, these were:
1. Indoors - Victorian- period ballroom
2. Autumn - Newcastle, NSW
3. Evening, indoor formal modern ceremony and reception.
We spent a day looking at fabrics together, and trying to narrow down the fairly broad ideas Kate had. Like many brides, she went through a lot of searching for source inspiration and had many many pictures that she "liked". I think we shared about 60 photos in the first set of emails, so I was working from a huge base of references.
 |
| Neckline reference |
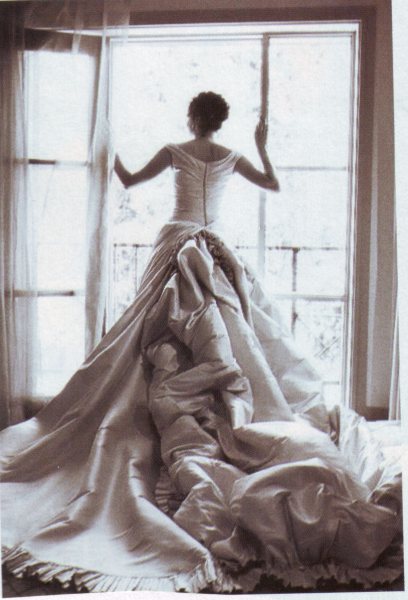 |
| Overall image reference: this was the picture that typified what Kate loved about "a wedding dress". Also the great train. |
 |
| Back detail. |
We looked at laces initially, but that turned out to be too busy, and was difficult to narrow down the right kind of lace, colour and satin underneath. So, in the end, we decided on a plain, heavy silk satin crepe, in a "natural' colour (just off-white).
Kate's focus for the dress became simplicity and elegance, and something her fiancee would love to see her in. She wanted to accessorise with pearls and so the satin was a natural choice. Her overall theme was very restrained, and so a simple, but glamourous dress would suit her wedding context.
 |
| Initial design after fabric shopping; Bias skirt with train and cowl back. Fitted bodice and slim line overall. |
We began draping and playing with silhouette ideas, as Kate was keen to see the ideas on her, not on paper.
 |
| Paper toile, for a fitted bodice |
 |
| Changes; draped and gathered style. |
Kate lives in Newcastle, so we had to factor in three fittings in Melbourne over the five months before the wedding, and we were able to make effective and personal changes each time.
For Kate, who, is a doctor, not a seamstress, I think it was a series of great excitements and major anxieties, as I was putting her in draft dresses, in order to refine the design; I knew how it would turn out, but she really had to trust me, and she did!
 |
Refined design © E. Christian 2010 Features gathered bodice, cowl back and full bias skirt w train. |


 |
| Final toile, January 2011. |
The major design changes that I wrought from Kate's original ideas were mostly about resolving her required "features" like the draped bodice, with the cowl back, and the height of the waistline. I raised this to make the proportions harmonious and added a belt to bring the draping and texture down from the bodice into the body of the dress. It needed a focus point.
From the above toile I also expanded the circle of the skirt and train, to get the drama Kate wanted in the overall drape of the gown.
 |
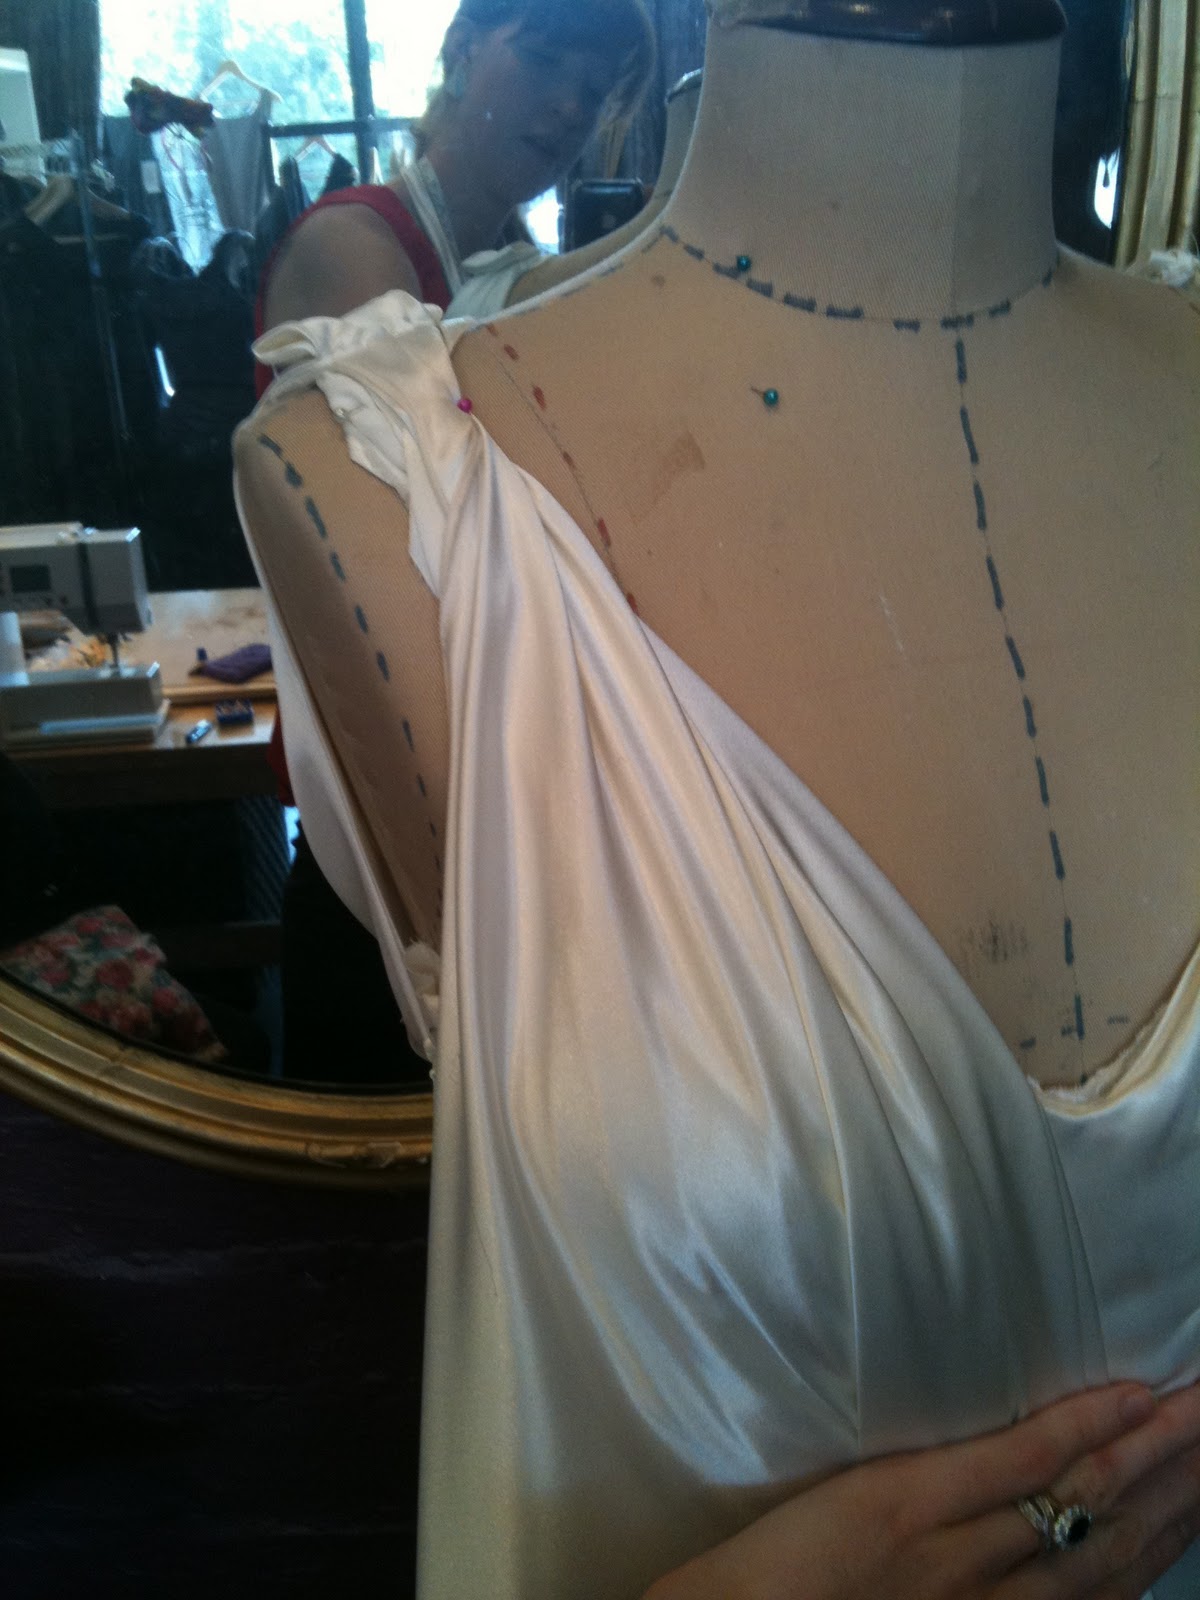
| Draping the bodice |
 |
| Cutting out... tricky on a narrow table.. |
 |
| The real thing.. skirt assembled. |
 |
| Bodice attached to skirt. |
I added a long row of 30 self-covered buttons, instead of a boring zip,
to finish it with a real hand-made touch.
I also added adjustable straps inside the back of the bodice to keep the gown in place, and maintain the tension between the front and back draped bodices.
 |
| With train tied up, for dancing. |
 |
| Finished dress with self belt |
 |
| Kate on her wedding day. |
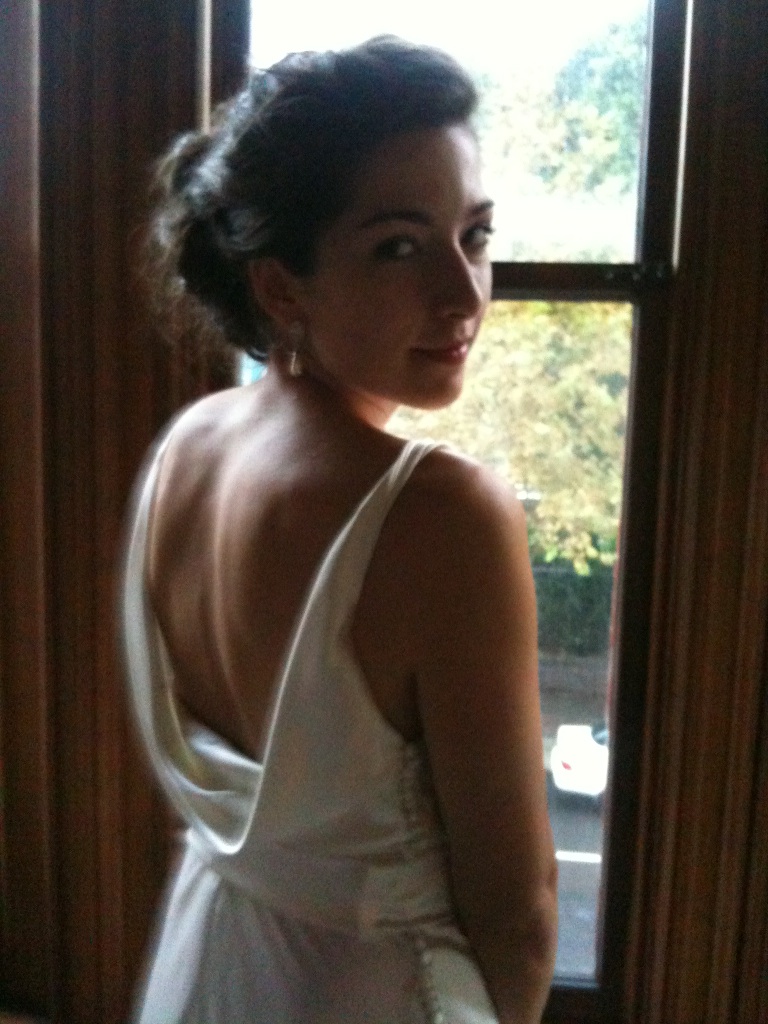

In the end I was really happy with the dress; it was an amazing learning experience, and I have been able to really perfect some techniques with silk satin, which is such a tedious fabric to get to perform exactly.
From all accounts Kate had a great Day, and looked fantastic, and it was a pleasure to be part of her wedding. Hopefully there will be a couple more photos to follow soon.
Next week, a 1970's wedding gown conversion!
No comments:
Post a Comment